James Hardie Site Prep & Utilities: The Las Vegas Owner’s Guide
Siding and cladding failures on James Hardie assemblies in Las Vegas almost always trace back to site prep and utilities: the weather-resistive barrier, flashing, drainage plane, penetrations, and the utility stub-outs and conduit runs that cross the wall. Replacing or correcting that layer typically runs $1,800 to $7,500 depending on wall length, number of penetrations, and whether the work is part of a larger ADU project. We’re an independent design-build studio, not affiliated with James Hardie, and we install James Hardie-compatible site prep and utilities under a single written price before any work starts.
Owners usually find the problem the same way: a stain spreading up the inside face of the sheathing behind a hose bib, bubbling paint along a door threshold, or a soft, chalky spot on the sheathing under a light switch box. Then they pull a section of siding and see it. The barrier is torn or reverse-lapped, the flashing at the utility penetration was never taped, and the wind-driven rain that hits Las Vegas in monsoon season went in sideways.
Which James Hardie Models This Applies To
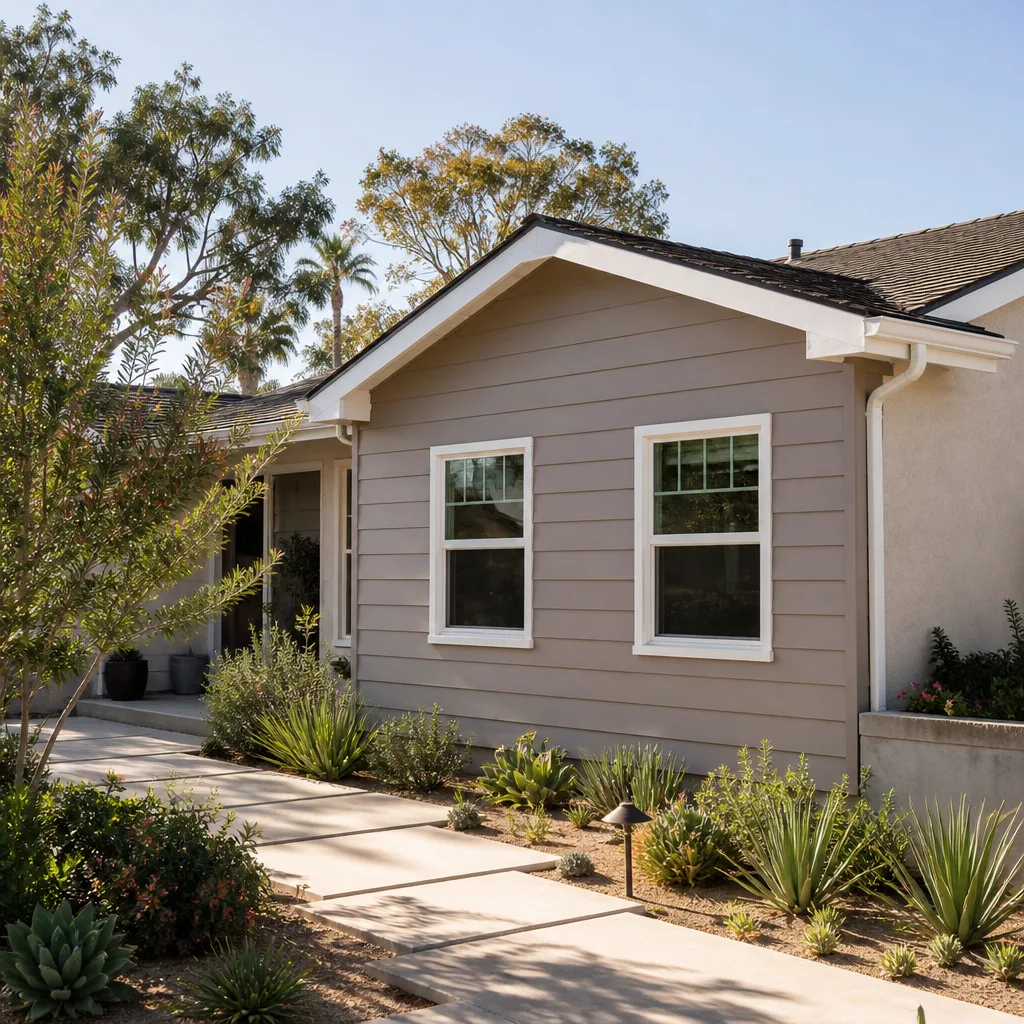
James Hardie’s siding and trim lines (HardiePlank lap, HardiePanel vertical, HardieShingle, and the Artisan and Reveal panel lines) all sit on the same underlying site prep layer, but the compatible flashing, trim channel, and penetration detail differ by line and by profile. HardiePanel and Artisan installs have tighter tolerances around utility penetrations because the panel panel itself does not flex to follow a poorly prepped wall; lap siding covers a slightly rougher prep, which is why corners where trim meets lap are the most common failure point. The right way to identify what you have is to read the back stamp on the siding (the line and profile are printed on the reverse) and measure the exposed reveal, not the board width. Measure from the bottom edge of one plank to the top edge of the next; the reveal is the number that tells you which flashing and trim accessories fit. For James Hardie, OEM flashing and trim accessories are the standard because the manufacturer’s publication and warranty language assume them; a quality aftermarket equivalent (a well-made zinc-alloy or PVC flashing that meets the same gauge and lap spec) is defensible and can save a few hundred dollars, but the barrier and the penetration details are where the warranty lives. That’s the OEM-vs-aftermarket decision in one line: match the barrier and detail to the manufacturer’s spec, and accept a quality aftermarket flashing only when the spec matches.
Signs Your James Hardie Site Prep & Utilities Is Failing
- Water staining on the sheathing under a penetration. The utility stub-out or hose bib was never sealed with a proper escutcheon and backer; wind-driven rain wicks in behind and travels down the sheathing. In Las Vegas, the failure shows up fast after the first summer monsoon because the wall absorbs and re-dries with the extreme heat, shrinking the sealant at the penetration with each cycle.
- Loose or bubbling paint along a corner or threshold. A reverse-lapped or torn weather-resistive barrier is letting moisture into the assembly; the paint is the first place the water shows, and it will fail again if the barrier isn’t replaced, not just re-painted.
- Soft, powdery, or chalky sheathing behind a switch box or outlet. The box was cut into the panel with no continuous barrier over it; the sheathing is wicking moisture. That’s a utility penetration detail problem, and it’s the one most commonly skipped because it’s easy to finalize the box without taping the barrier behind it.
- A visible gap or open slot at a conduit, drain, or dryer vent. The penetration was drilled too large or the flashing boot was never installed; the fix is a proper flashing collar and a re-taped barrier, not a bead of caulk that will fail in one season.
- Warping or cupping at the bottom edge of a panel or lap. The wall is taking water at the bottom termination because the starter flashing and drainage plane were never installed; the siding itself is fine, but the site prep below it is not. Left alone, the framing gets the water next.
Replacement Cost & What’s Included
In Las Vegas, a site prep and utilities correction on a residential wall typically runs $1,800 to $4,200 for a targeted repair (one wall run, one or two penetrations, corrective flashing and barrier), and $4,500 to $7,500 when the work covers a full elevation with multiple utility penetrations, new flashing boot, drain plane, and a new barrier. The range is driven by wall length, number of penetrations, whether the existing siding can be re-used or must be replaced, and whether the fix is part of a larger ADU conversion. The price is written before any work starts, per Haven Standard Clause 1, and the scope is locked at signing under Clause 5 (No Surprises), so there are no door-side add-ons once the wall is open. The installed price covers the barrier, flashing, trim accessories, penetration detailing, and the documented photo record of what was found and what was done. The work carries the 365-Day Done Right Promise in writing: if it isn’t done right, we make it right.
DIY or Call Us?
An owner can safely measure the exposed reveal, photograph the back stamp on the siding, and check for a visible gap or loose caulk at a utility penetration. That’s the safe inspection. Where it goes wrong is the repair: cut the wrong lap and you compromise the drainage plane above it; open a wall section without the barrier and flashing staged, and the wall sits open to the next monsoon. If the sheathing behind a penetration or under a light switch box reads soft, chalky, or damp, stop and call. The same applies if a conduit or hose bib is showing water at the wall; the fix is a flashing detail, not a tube of caulk. Call our team at (866) 779-3194 and we’ll tell you exactly what we see, what it costs in writing, and whether a targeted fix or a larger section is the honest answer.
FAQs
The barrier and flashing are the parts that most often outlive the siding’s paint, not the other way around. In Las Vegas, a properly detailed and taped barrier lasts 15 to 25 years before it needs replacement, while the flashing boots at penetrations are the first thing to go, typically 8 to 12 years in this climate because the heat-shrink cycle on sealants is hard on them. When the barrier is torn, reverse-lapped, or the penetrations were never flashed, the barrier can fail inside five years. Call (866) 779-3194 for a free estimate on a specific wall.
Sometimes, yes: a single penetration can be re-flashed and the barrier re-taped in place, and that is often the whole fix. But if the barrier is reverse-lapped or torn over a longer run, or if the sheathing behind a penetration reads soft or chalky, the repair does not hold and a section replacement is the honest answer. We’ll tell you which one it is and what each costs in writing. Call (866) 779-3194 and we’ll give you a free second opinion on any estimate you already have.
A targeted repair on one wall run with one or two penetrations usually takes one to two days; a full elevation with multiple penetrations and a new barrier takes three to five days. We schedule around the work and don’t start until you’ve signed the written scope. Call (866) 779-3194 to schedule a free estimate and we’ll stand on the wall with you.
We source to spec, not to a stock list. That means the barrier materials and flashing details are matched to the James Hardie line and profile printed on the back of your siding, and the parts are ordered for your job, not pulled from a truck. Because the drawings, the permit set, and the construction are a single contract, the person who specifies the flashing is the person who installs it. That is the James Hardie-compatible approach we’ve built for our Las Vegas projects, and we coordinate it alongside the prefab and modular systems we specify and coordinate from brands including James Hardie as well as Abodu, Cover, and Dvele. Call (866) 779-3194 for a free estimate.
Written by the team at Ellery ADU Studio Las Vegas, serving Las Vegas and nearby areas.
Ellery ADU Studio Las Vegas is an independent design-build studio, not affiliated with James Hardie. Call (866) 779-3194 for a free estimate, and a live person answers calls 24/7.